This page describes easy to follow, step by step instructions on how to make Wine from Grapes at home. It is not as difficult as you might think so why not have a go - the results are very rewarding!
Making wine is simple! Basically all you need to do is extract the juice from fruit or vegetables, add sugar and yeast and then sit back and wait for the yeast to turn the sugar into alcohol.
Dont worry if you dont have any equipment you can get a Complete Starter Kit that contains all the equipment that you will need. Alternatively you can begin with a Basic Starter Kit and build up from there as you gain more experience.
When you have read this page you may like to learn more about wine making. I recommend that you take a look at this book-
First Steps in Winemaking
contains 150 detailed winemaking recipes, arranged in month-by-month order so you can make wine all the year round.
As well as the recipes, the concepts and techniques of winemaking are explained in easy to understand terms.
If you have to buy one book on homewinemaking this is the one!
STEP BY STEP INSTRUCTIONS
You may prefer to watch my step by step video first but please come back here and read the following step by step notes for more details on quantities, tips and methods.
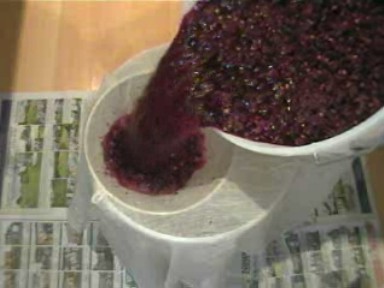
Step 1:
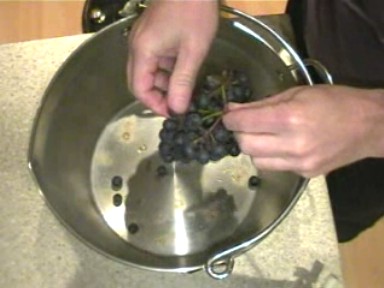
Remove the grapes from the stalks.
I got these grapes from a friend. You can grow your own or ask around to see if you can get some for free (or in exchange for a few bottles of the finished wine). Allotments and community gardens are good starting points.
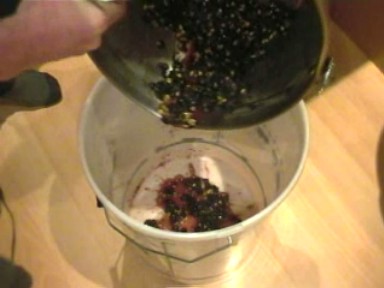
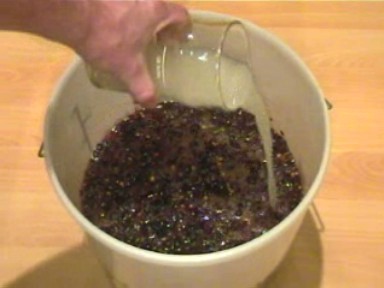
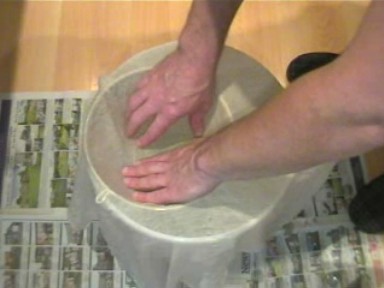
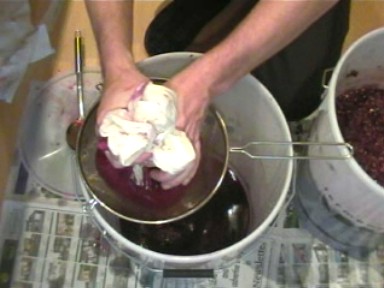
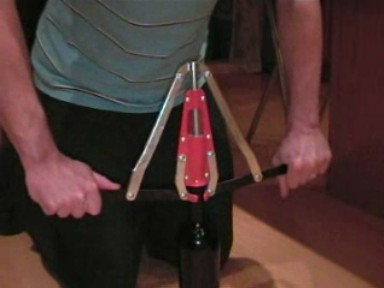
Step 2:
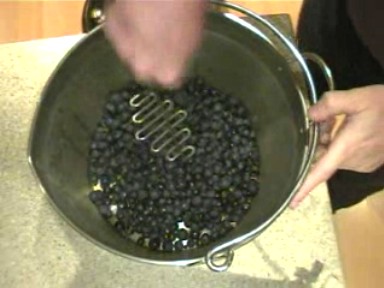
Press the grapes to remove juice.
Step 3:
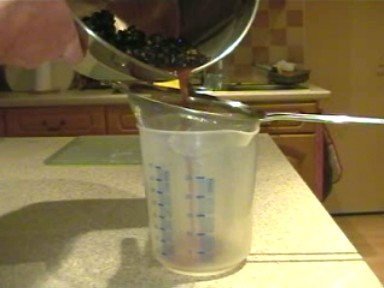
Measure the Specific Gravity of the Juice.
This will tell you how much sugar is in the juice and how much you need to add to get the desired alcohol content.
Let's take an example to explain how this works:
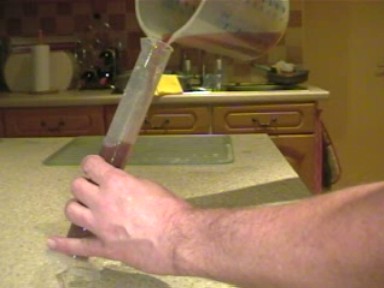
In the photos I've poured the juice through a sieve and into a test jar. I have inserted my hydrometer.
You can see the reading is 1045 (see my how to use a hydrometer page for an explanation of the reading). There is also a table on this page. It shows two things:
1) One gallon of this juice will contain 1lb 3oz of sugar
2) If all of the sugar is converted to alcohol it will give an alcohol strength of 5.8%.
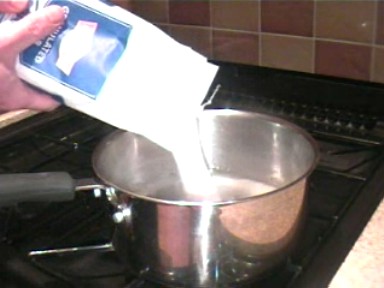
Now a good wine will have a strength of about 12% so we will need to add some extra sugar. Looking at the table 12% requires 2lb 8oz of sugar. So I will need to add 1lb 5oz for every gallon of the juice.
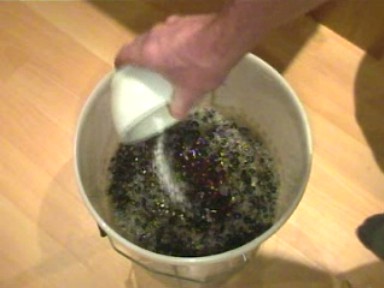
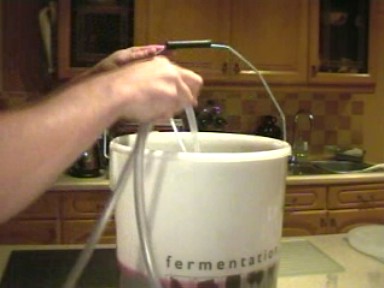
I cannot over emphasise that you must sterilise every item that you use.
Bacteria is the enemy of successful wine making - it can turn alcohol into vinegar so be thorough with your cleaning.
Crush one campden tablet for every gallon of wine and add to the brewing bucket. Cover the bucket and leave for 24 hours.
The Campden Tablet will kill any bacteria or natural yeast present on the grape skins. If you dont take this precaution then the wine can 'go bad' and result in a vingar flavour.
Step 6:
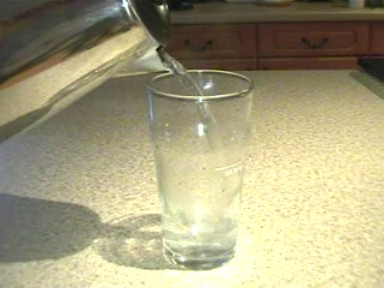
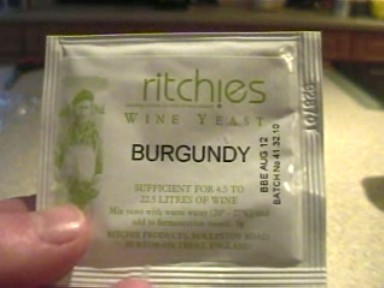
Make a yeast starter.
Boil some water and add to a jar. Leave until cool - ideally about 21 degees C. If it is too hot it will kill the yeast.
Add a tablespoon of sugar, a tablespoon of wine yeast and a pinch of Yeast Nutrient.
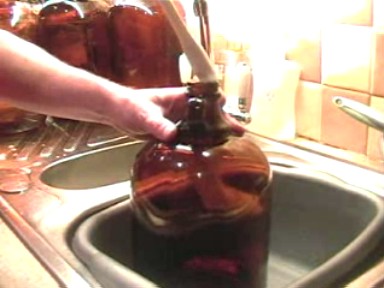
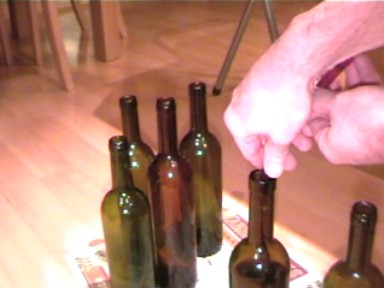
Allow to mature by storing on a wine rack in a cool room. This can be as little as a month or as much as years. Generally speaking the longer you leave the wine the better it is.
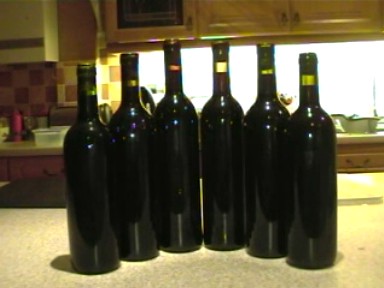
Drink!
6 bottles of great tasting, low cost wine to be enjoyed at your leisure!
PS. To give your bottles a more professional look fit Wine Bottle Labels